
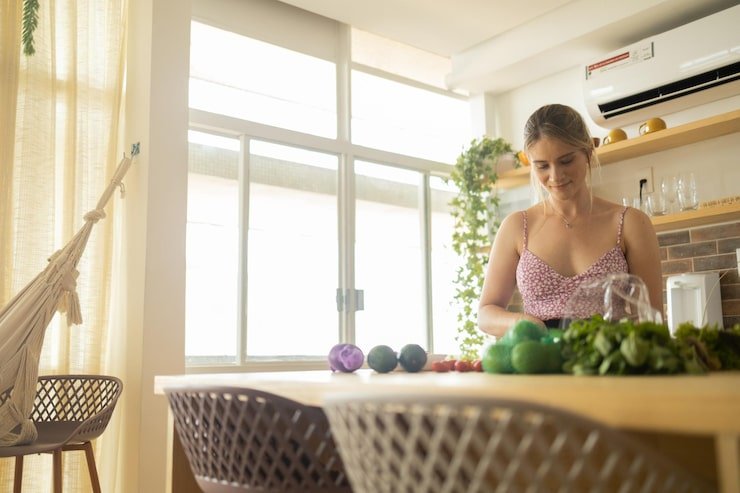
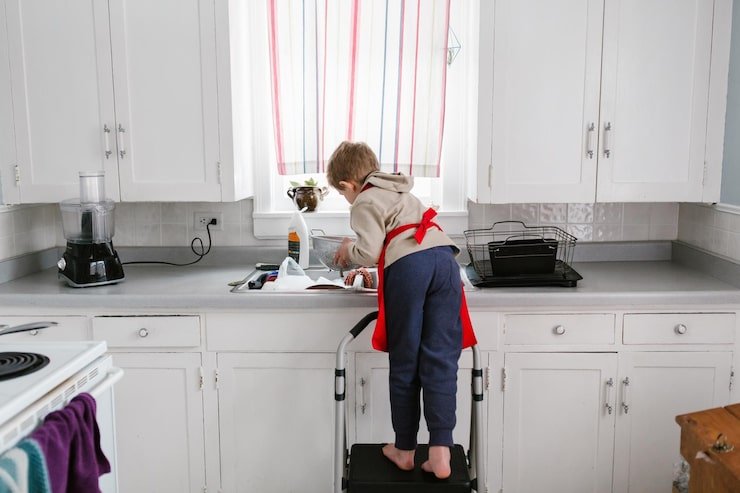
The kitchen window above the sink is one of the most frequently used yet most overlooked focal points in the home. It’s where we spend significant time doing dishes, prepping food, or simply staring out while waiting for water to boil. Yet, this area is often left bare, covered by a utilitarian blind, or simply neglected, missing a key opportunity to maximize light, add character, and elevate the entire kitchen aesthetic.
For years, I believed window treatments in a kitchen were impractical—too much grease, too much water, too much hassle. But after feeling that my own kitchen, despite a fresh coat of paint, still lacked warmth and visual interest, I decided to experiment with a subtle, budget-friendly change: an above-sink curtain.
The results were transformative. The right curtain, strategically chosen, didn’t block light; it filtered and diffused it, instantly brightening the space and adding a custom, high-end look. This revelation proved that the right window treatment is a highly effective, low-cost solution to infuse personality and light into a tired kitchen.
Here is a detailed breakdown of the three best above-sink curtain ideas I explored, why they work, and the specific material and design choices that ensure success (and prevent mold!).
I. The Café Curtain: The Ultimate Brightness Booster (The Style I Chose)
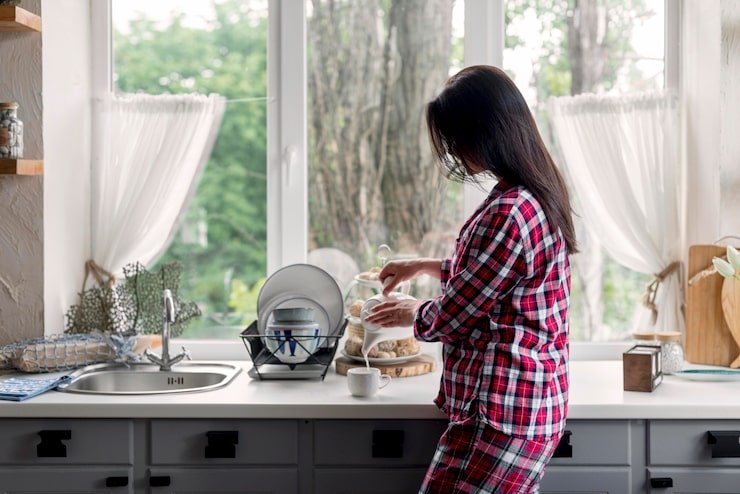
The Café Curtain (sometimes called a half-curtain) is an old-world classic that has made a major comeback in modern design due to its simplicity and practicality. This is the style I ultimately chose, and it provided the most dramatic positive impact on my kitchen’s brightness.
Why the Café Curtain Works Wonders
The genius of the café curtain lies in its strategic placement: it covers only the bottom half of the window pane.
- Maximizes Light: By leaving the upper half of the window completely clear, maximum natural daylight is allowed to stream into the kitchen. The light hits the ceiling and the upper cabinets, making the entire room feel instantly taller and airier.
- Provides Essential Privacy: It offers privacy where you need it most—at the counter level. Neighbors or passersby can’t look directly into your sink area or across your countertops, eliminating the need for heavy blinds or shutters that block all light when closed.
- Adds Architectural Interest: The curtain provides a soft, horizontal break in the window, adding texture and a finished look without feeling heavy or bulky.
DIY Installation and Material Tips
- Placement is Key: Hang the rod roughly mid-way across the window pane, or slightly lower (around 36 to 42 inches from the floor) to fully cover the workspace area.
- The Perfect Material: Opt for light-filtering, sheer fabrics like linen, cotton voile, or a semi-sheer synthetic blend. Avoid heavy cotton or velvet. The fabric’s primary job is to diffuse harsh light, not block it. The light that passes through is softened, reducing glare on countertops and making the space feel warmer.
- The Budget Rod Hack: Skip expensive hardware. Use a simple, tension rod that fits inside the window frame. This requires no drilling, is incredibly cheap, and allows you to take the curtain down instantly for washing.
- Fullness: For a luxurious look, ensure the curtain panel’s width is 1.5 to 2 times the width of the window. This creates appealing, soft folds when hung, rather than a flat, flimsy sheet of fabric.
Why the Roman Shade is a Design Upgrade

A Roman shade operates by folding up neatly into crisp, horizontal pleats when raised.
- Tailored and Sophisticated: Unlike blinds with slats, a Roman shade offers a solid block of color or pattern, lending a clean, high-end feel that rivals custom millwork.
- Versatile Design: It can be used to introduce a pop of color (like a deep navy or emerald green) or a bold, simple pattern without committing to an entire room redesign. When raised, the folded fabric at the top acts as a clean valance.
- Out-of-the-Way Placement: When fully raised, the shade sits compactly at the very top of the window frame, maximizing the amount of visible glass and allowing maximum light entry.
Material and Budget Considerations
- Placement: Install the shade outside the window frame (on the wall above the frame). This allows the entire window area to be exposed when the shade is raised, letting in maximum light.
- Choose Durable Fabric: Because the shade is pulled up and down, select a fabric that holds its shape well, like a thick cotton duck or a blend. Crucially, ensure the fabric is washable or can be spot-cleaned easily due to the kitchen environment.
- The Budget DIY Shade: Custom Roman shades are expensive. For a low-cost option, purchase an inexpensive faux-wood blind and use the mechanism. Then, glue or sew your desired fabric onto the slats of the blind, effectively creating a custom Roman-style shade that functions using the cheap existing mechanism.
Why the Valance Adds Value
The valance is the most minimal window treatment, acting purely as a decorative accent.
- Draws the Eye Up: By covering only the top few inches of the window, the valance instantly draws the viewer’s eye upwards, emphasizing the height of the ceiling and making the kitchen feel taller and grander.
- Conceals Hardware: It’s excellent for covering up unattractive roller mechanisms, blind hardware, or simple tension rods, making the window look tidier and more intentional.
- The Easiest Wash: Because the fabric area is so small, it is the easiest style to remove, wash, and re-hang, making it the most practical choice near a grease-prone stove area or a splashy sink.
Installation and Design Tips
- Pattern Power: Since the valance is a small fabric commitment, this is the perfect place to introduce a fun, small-scale pattern (gingham, small florals, or simple geometric prints) to add visual interest without overwhelming the kitchen.
- Mounting: Use a simple decorative rod or even velcro strips attached to the window frame for the easiest DIY mount.
- Keep it Proportional: Ensure the valance isn’t too long. It should generally only cover the top 1/6th to 1/8th of the window to maintain maximum light entry.
IV. Conclusion: The Power of the Simple Textile

Choosing the right window treatment for the kitchen sink area proves that sometimes, the simplest and most cost-effective design decisions yield the most dramatic results. A textile, strategically placed, does far more than just cover glass—it transforms the quality of light entering the room.
By opting for light-filtering fabrics in one of the three styles detailed above, you avoid the common pitfalls of kitchen window treatments: blocking precious light, retaining moisture, and looking cluttered. The Café Curtain offers the ideal balance of light and privacy, the Roman Shade provides tailored sophistication, and the Valance adds necessary architectural polish.
In my own experience, the addition of a simple, sheer café curtain instantly warmed the cold, direct light from the window, gave the room a finished, cozy feel, and eliminated the need for heavy, dated blinds. It’s a budget-friendly project that delivers an immediate, custom look—a true testament to the power of thoughtful, textile-based design.