There’s something incredibly satisfying about creating your own furniture. Not only do you save money, but you also get to design pieces that fit your style, space, and personality perfectly. Whether you’re looking to refresh your living room, upgrade your bedroom, or add functionality to a small space, DIY furniture projects can transform your home without draining your wallet.
The best part? You don’t have to be a professional carpenter or own fancy tools to get started. With some creativity, basic materials, and a weekend’s worth of effort, you can build furniture that’s stylish, practical, and totally unique.
In this guide, we’ll explore budget-friendly DIY furniture ideas that anyone can try — from easy weekend builds to upcycling projects that breathe new life into old pieces. Get ready to roll up your sleeves and refresh your home, one project at a time.
Why Choose DIY Furniture?
DIY furniture isn’t just about saving money — it’s about creating something personal, meaningful, and made to last.
Here’s why so many people are embracing the DIY approach:
- It’s affordable: You can make quality furniture for a fraction of retail prices.
- It’s customizable: Choose your own colors, finishes, and designs.
- It’s sustainable: Upcycling or reusing materials reduces waste.
- It’s rewarding: There’s nothing like the pride of saying, “I made that!”
Plus, DIY projects allow you to experiment — mixing styles like rustic, modern, or farmhouse to create a home that truly reflects you.
1. Repaint or Refinish Old Furniture
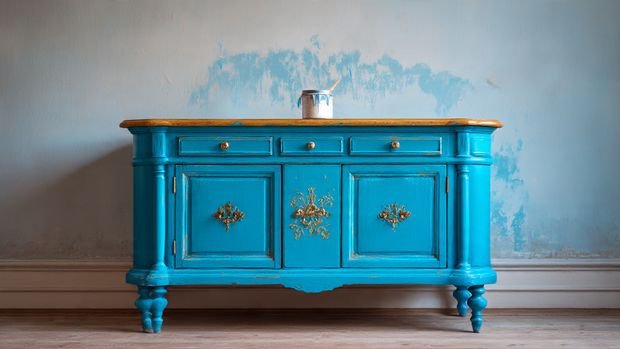
Before buying something new, look around your home — you might already own furniture that just needs a little love. A coat of paint or new finish can completely transform an old table, dresser, or chair.
What you’ll need: Sandpaper, primer, paint or stain, paintbrush, and sealant.
Tips to try:
- Use chalk paint for a matte, vintage finish.
- Add gold or black handles for a modern update.
- Sand down corners for a rustic, farmhouse effect.
- Experiment with two-tone designs — white and wood tones are timeless.
This simple project can make your old furniture look like it came straight out of a design catalog.
2. Build a Rustic Coffee Table
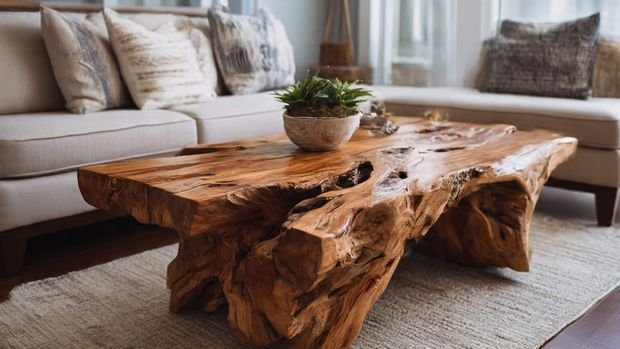
A coffee table is the centerpiece of any living room — and one of the easiest DIY projects for beginners. You can make a rustic version using wooden planks or pallets for a cozy, farmhouse vibe.
Materials: Reclaimed wood, screws, wood glue, stain or paint, and sealant.
How to do it:
- Cut your wood to size for the tabletop and legs.
- Assemble the base and secure the top with screws.
- Sand and finish with a natural wood stain or light paint.
For extra functionality, add a bottom shelf for books or baskets. This table will cost you far less than a store-bought one but look just as beautiful.
3. Create Floating Shelves
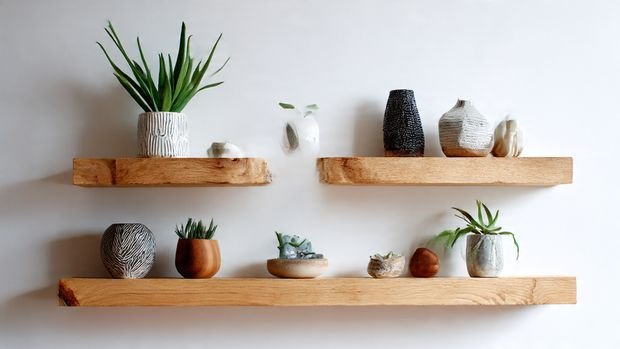
Floating shelves are stylish, practical, and incredibly easy to make. They’re perfect for displaying décor, books, or plants — and can be customized to fit any room.
Materials: Wooden boards, brackets or hidden supports, screws, and paint/stain.
How to do it:
- Measure and cut your boards to your desired length.
- Stain or paint them to match your room.
- Use wall anchors to secure brackets, then place the shelves.
You can make multiple layers for a dramatic wall display or keep it simple with one or two shelves for minimalist charm.
4. Transform a Wooden Crate into a Side Table
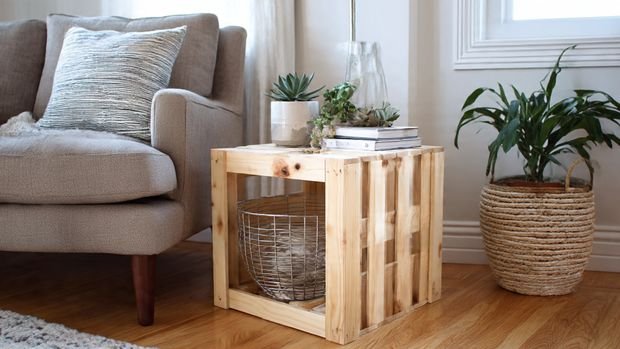
Wooden crates are versatile and inexpensive — and they make perfect building blocks for creative furniture.
How to do it:
- Sand and stain or paint your crate.
- Add legs or small casters for mobility.
- Place a wooden or glass top for a more polished finish.
This simple DIY project can double as a side table, nightstand, or even a mini bookshelf. It’s functional, affordable, and great for small spaces.
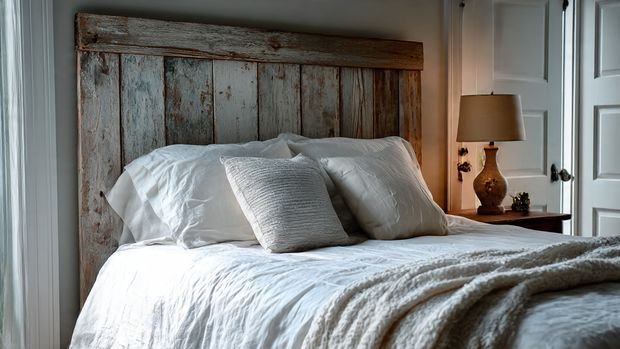
5. Make a Headboard from Old Doors or Pallets
Want to give your bedroom a custom look? A DIY headboard instantly transforms your bed into a stylish focal point — and you can make one from materials you already have.
Ideas to try:
- Use an old wooden door, sanded and stained for a rustic look.
- Arrange wooden pallets horizontally or vertically for a cozy, cabin vibe.
- Add fabric and padding for a soft, upholstered feel.
Attach your headboard directly to the bed frame or mount it on the wall for a chic statement piece.
6. Build a Bench from Reclaimed Wood
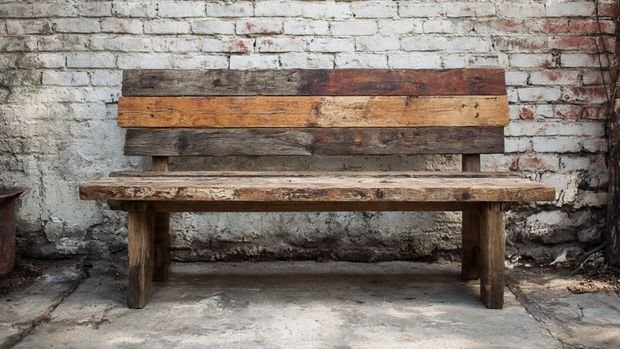
A wooden bench is one of the most versatile DIY furniture pieces — it can work in your entryway, dining room, or even outdoors.
How to make it:
- Use thick planks for the seat and sturdy legs for support.
- Screw the pieces together securely.
- Sand, paint, or stain to match your décor.
Add cushions or throw pillows for extra comfort. It’s simple, affordable, and adds instant charm to your home.
7. Upcycle a Dresser into a Bathroom Vanity
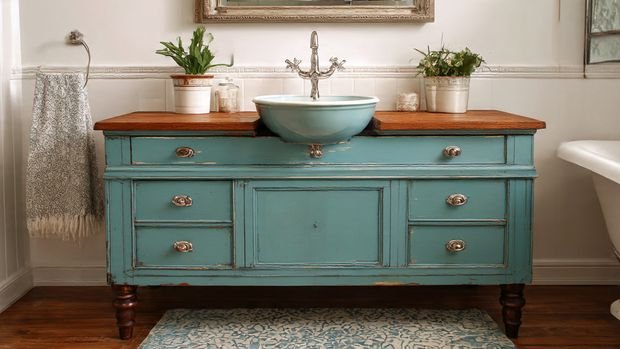
If you’re up for a slightly bigger project, turn an old dresser into a stylish bathroom vanity.
How to do it:
- Remove the top drawers to make room for plumbing.
- Cut a hole for the sink and faucet.
- Sand and seal the wood for moisture resistance.
- Add your sink, fixtures, and hardware.
This DIY gives your bathroom a unique, custom look while reusing something old in a completely new way.
8. Make a Storage Ottoman
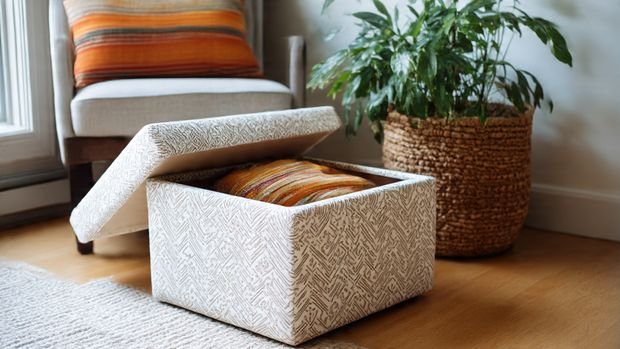
A storage ottoman is both functional and decorative — a great weekend project that adds comfort and practicality to your space.
Materials: Plywood, foam cushion, fabric, staple gun, and hinges.
Steps:
- Build a simple box from plywood.
- Add foam and fabric to the top for comfort.
- Attach the lid with hinges.
You can store blankets, toys, or shoes inside while using the top as a seat or coffee table.
9. Create a Wall-Mounted Desk
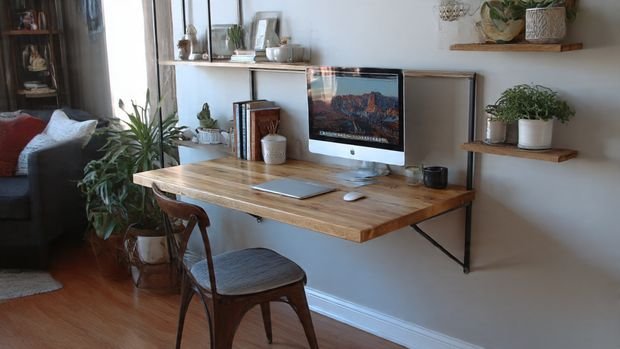
Need a workspace but short on space? A wall-mounted desk is the perfect solution. It folds up when not in use and looks sleek in small apartments.
How to build it:
- Cut a wooden board for your desktop.
- Attach foldable brackets or hinges to the wall.
- Add a shelf above for storage and décor.
Stain or paint the desk to match your room, and pair it with a simple chair for a modern, functional workspace.
10. Repurpose Old Drawers into Storage Units
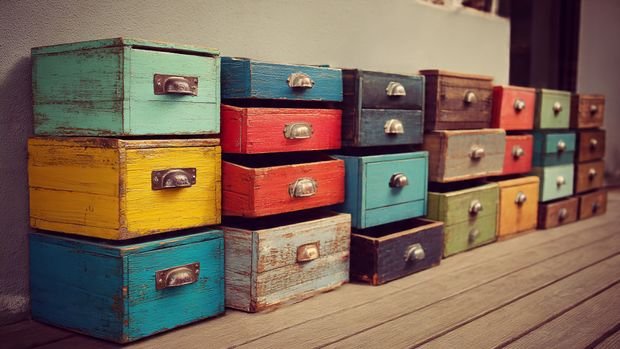
Don’t throw away that old dresser — its drawers can become new pieces entirely.
Ideas:
- Mount drawers on walls for creative shelving.
- Stack a few drawers and secure them together to create a mini side table.
- Add legs and paint for a quirky vintage-style nightstand.
This kind of upcycling not only saves money but also gives your space personality and charm.
11. Build a Bookshelf from Ladders
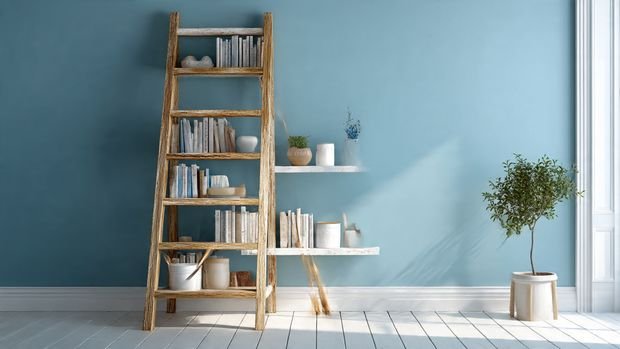
For a creative, rustic bookshelf, all you need is an old ladder and a few planks of wood.
How to do it:
- Lean the ladder against the wall or secure it upright.
- Place wooden planks across the rungs to create shelves.
- Paint or stain to suit your style.
This DIY bookshelf works great for books, plants, or decorative pieces — perfect for a cozy corner or office space.
12. Turn an Old Table into a Kitchen Island
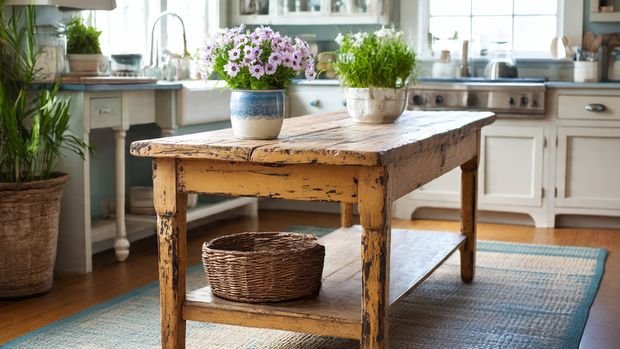
If your kitchen lacks counter space, consider turning an old table into a DIY island.
Steps:
- Sand and repaint or refinish the table.
- Add hooks or towel bars to the sides for convenience.
- Install wheels for mobility.
- Add baskets or crates underneath for storage.
With just a few simple updates, you can create a beautiful, functional kitchen centerpiece.
13. Build a Simple Bedside Table
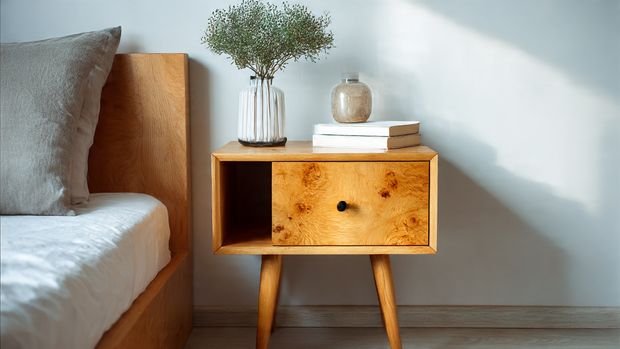
A bedside table doesn’t need to be expensive — you can easily make one using leftover wood or crates.
Ideas:
- Stack two crates vertically and secure them.
- Use a simple wooden plank on top of hairpin legs for a modern look.
- Add a drawer or small basket for storage.
A handmade nightstand gives your bedroom charm and functionality while keeping costs low.
14. Refresh Furniture with New Hardware
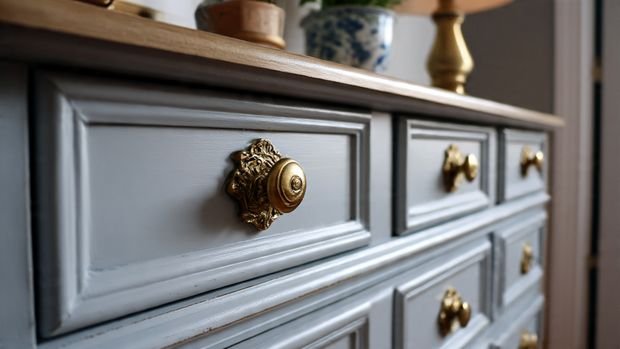
Sometimes, you don’t need to rebuild furniture — just refresh it. Changing out handles, knobs, and hinges can make old furniture look new again.
Try:
- Brass or matte black handles for a modern upgrade.
- Crystal knobs for a vintage or feminine touch.
- Leather pulls for a rustic, minimalist vibe.
It’s one of the quickest and most affordable ways to update your furniture without any major effort.
15. Use Paint Stencils for Custom Details

Add personality to your furniture by using stencils and paint.
You can:
- Add geometric designs to tabletops.
- Paint floral or botanical patterns on drawers.
- Create an ombré color effect for a modern twist.
This technique instantly turns plain furniture into custom, eye-catching pieces that make your home feel fresh and unique.
Tips for Successful DIY Furniture Projects
Before you grab your hammer, here are a few helpful tips:
- Start small: Choose simple projects to build your confidence.
- Measure twice, cut once: Always double-check your dimensions.
- Use quality tools: Even basic tools work wonders if they’re reliable.
- Safety first: Wear gloves, goggles, and follow instructions carefully.
- Be patient: Great results take time — enjoy the process!
Remember, imperfections make DIY projects special. Those small marks and textures are what give your furniture character.
Final Thoughts
DIY furniture projects are about more than saving money — they’re about creativity, sustainability, and self-expression. With just a few tools, a bit of effort, and some inspiration, you can create pieces that look designer-made but cost next to nothing.
From repainting old furniture to building entirely new ones from scratch, each project adds warmth, personality, and uniqueness to your home. The best part? Every time someone compliments your décor, you get to say, “Thanks — I made it myself.”
So, gather your supplies, clear a little workspace, and start your next DIY adventure. Your home — and your creativity — deserve it.