
Adding a shower to your basement bathroom can be one of the most rewarding and practical home improvement projects — especially if you’re looking to boost functionality or increase your property’s resale value. But basement renovations often come with a challenge: how to install a shower affordably while dealing with plumbing limitations, moisture concerns, and layout constraints.
If you’re on a budget but still want a fully functional, attractive shower setup downstairs, this detailed guide will walk you through the cheapest and smartest ways to add a shower to your basement bathroom without sacrificing quality or style.
1. Understand the Basement Plumbing Challenge
Before you jump into buying fixtures or materials, it’s crucial to understand one key difference between basement bathrooms and those on upper levels — gravity.
Basement bathrooms are usually below the main sewer line, which means regular drainage systems might not work. You’ll need to find a way to get wastewater from the shower up to the main drain. Traditional plumbing involves breaking the concrete floor to install drainage lines, but that can be costly.
The goal: Avoid breaking concrete wherever possible to keep costs low.
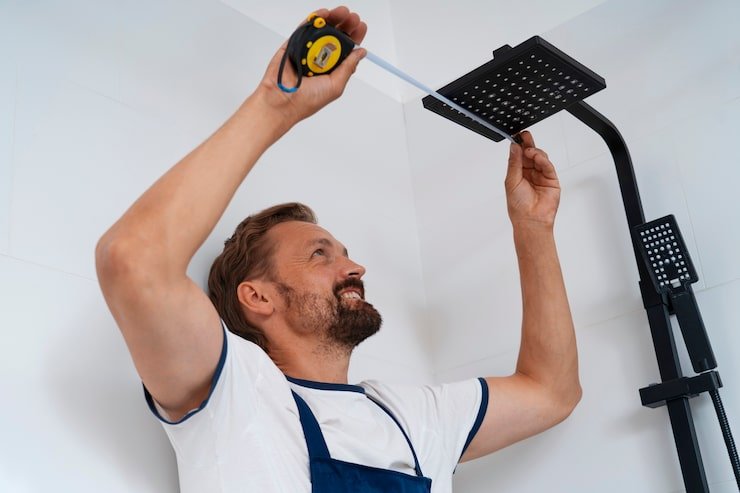
2. Choose the Right Type of Shower System
The type of shower you install will determine how much you spend on plumbing and labor. Here are the most cost-effective options:
A. Upflush Shower System (Macerating Pump System)
This is one of the easiest and cheapest solutions for basement showers. An upflush system uses a small pump to push wastewater up to your home’s main drain line. These systems are compact, efficient, and can be installed without cutting through concrete floors.
Benefits:
- No need for major excavation or breaking concrete
- Fast installation
- Ideal for adding a shower (or full bathroom) anywhere in the basement
- Cost-effective compared to traditional plumbing
Estimated cost: $1,200 – $2,500 (including the system and basic installation)
Top brands: Saniflo, Liberty Pumps, Zoeller
B. Shower Stall with Built-in Base
Prefabricated shower stalls are another budget-friendly option. They come with built-in bases and walls that make installation easier — no need for tiling or custom waterproofing.
Benefits:
- Affordable (as low as $400–$800 for a complete kit)
- Easy to clean and maintain
- Ideal for DIY projects
- Available in multiple sizes to fit small basement bathrooms
You can combine a prefabricated shower stall with an upflush or drain pump system for a complete setup.
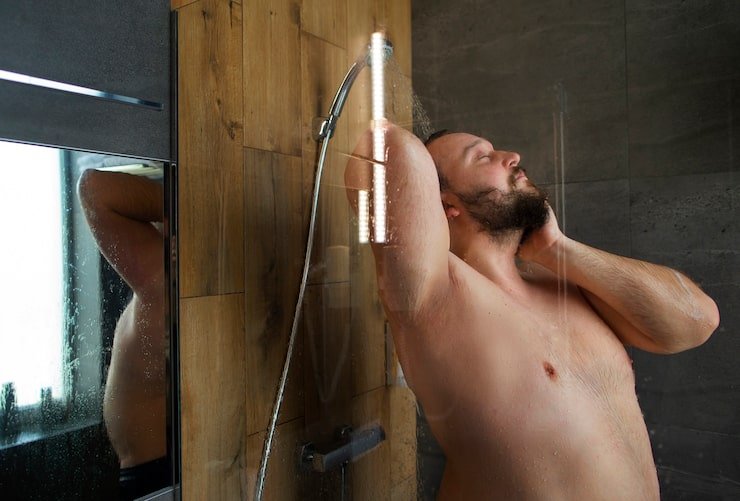
C. Corner Shower Kit
If your basement bathroom is small, a corner shower unit saves both space and money. These often come with curved glass doors or acrylic walls, making them look modern without a hefty price tag.
Estimated cost: $500–$1,000 (including door and pan)
Pro tip: Buy a frameless or semi-frameless kit to give your small basement bathroom a more open feel.
3. Work With the Existing Plumbing Layout
One of the best ways to save money when adding a shower is to use existing plumbing lines. If your basement already has a toilet or sink, it’s likely connected to a drain line. You can tap into that existing line for your shower — saving on both time and labor.
Cost-saving idea: Install your new shower as close as possible to your existing bathroom fixtures. The shorter the pipe runs, the lower your cost.
4. Consider a Shower-Tub Combo
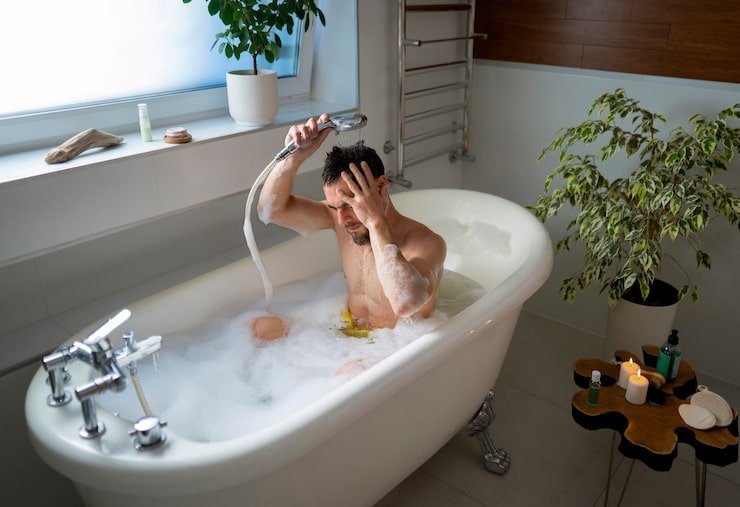
If you want versatility but need to stay within a tight budget, a shower-tub combo can be surprisingly affordable. Many acrylic bathtub kits come with shower attachments and surround panels, so you don’t need separate waterproofing or tile work.
Estimated cost: $600–$1,200 (kit and installation)
This option is especially great for families, as it offers both a soaking tub and a shower in one space-saving design.
5. Budget-Friendly Shower Flooring
Your shower base doesn’t need to be fancy to look good and function well. Here are some inexpensive flooring options:
- Acrylic or fiberglass shower pans: Lightweight, easy to install, and cost between $200–$500.
- Vinyl plank flooring: Waterproof and stylish, ideal for the rest of the basement bathroom area.
- Waterproof tile alternatives: Consider peel-and-stick waterproof wall panels or snap-together flooring for a DIY-friendly approach.
Avoid materials like natural stone or ceramic tile if you’re on a budget — they require extra waterproofing and professional installation.
6. Manage Moisture and Waterproofing Properly
Even if you’re saving money, don’t cut corners on waterproofing — moisture is the biggest issue in basement bathrooms.
Cost-effective waterproofing tips:
- Use a waterproof backer board instead of drywall behind your shower walls.
- Apply a liquid waterproofing membrane (like RedGard) on all seams.
- Install a good-quality exhaust fan to keep humidity under control.
Proper waterproofing prevents mold and costly repairs later, protecting your initial investment.
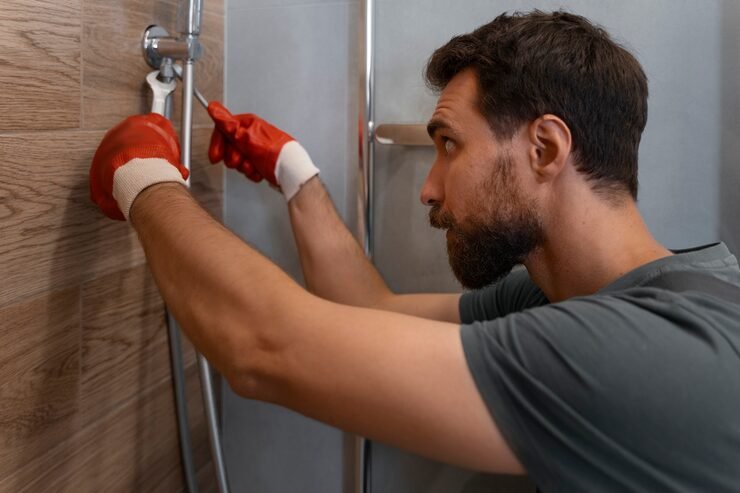
7. DIY vs. Hiring a Professional

If you’re handy with tools, you can save hundreds — even thousands — by doing some of the work yourself. Installing a prefabricated shower or connecting a pump system can be manageable with a good online guide and patience.
However, you should hire a plumber for any major drainage or pump connections, especially if your basement bathroom is below the main sewer line. Incorrect installation could cause leaks or flooding.
DIY savings estimate: Up to $1,000 on labor.
8. Affordable Design and Decor Tips
A budget shower doesn’t have to look cheap. Here’s how to make your basement bathroom look stylish without overspending:
- Use peel-and-stick wall panels that mimic tile or marble. They’re waterproof and cost a fraction of real materials.
- Add floating shelves for storage instead of bulky cabinets.
- Use bright lighting to make the space feel open and welcoming.
- Incorporate a frameless glass door — it makes even a small shower feel spacious.
- Add plants like ferns or pothos to give the space a fresh, spa-like vibe.
9. Realistic Cost Breakdown
Here’s a sample budget for a small, cost-effective basement shower setup:
| Item | Estimated Cost (USD) |
|---|---|
| Upflush system | $1,200 |
| Prefab shower kit | $600 |
| Basic plumbing materials | $300 |
| Waterproofing supplies | $150 |
| Lighting & decor | $200 |
| Labor (if needed) | $500–$800 |
| Total Estimated Cost | $2,500–$3,000 |
This is significantly cheaper than a traditional shower installation, which can easily exceed $6,000–$8,000 due to excavation and plumbing work.
10. Bonus Tip: Reuse and Recycle
If you’re truly looking for the cheapest possible route, consider reusing materials:
- Refinish or repaint an old vanity instead of buying new.
- Use leftover tiles for the shower niche or backsplash.
- Browse local home improvement surplus stores or online marketplaces for discounted fixtures.
Small savings on each component can add up to a big difference in your overall budget.
Final Thought
Adding a shower to your basement bathroom doesn’t have to drain your wallet. With smart planning, cost-effective materials, and the right installation approach, you can create a stylish, functional shower space for as little as $2,000–$3,000. Focus on using prefabricated shower kits, upflush systems, and existing plumbing to cut costs dramatically — all while ensuring comfort and durability.
Whether you’re finishing a basement for guests, family, or rental income, this affordable project not only makes your space more livable but also adds long-term value to your home. With the right strategy, even the most budget-conscious homeowners can achieve a basement bathroom upgrade that feels luxurious without the luxury price tag.